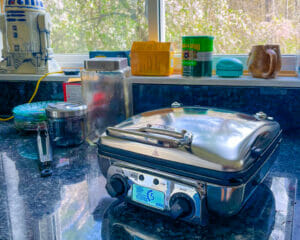
Having committed to becoming Waffle Dad, I needed to…learn how to make waffles. But I’ve never done it! So for my inaugural waffles (which would both be a first for me, and a first for Hercule – my All-Clad Belgian Waffle Maker) I started at a reasonable place: research!
Googling “waffles” seemed like a good idea…but boy, did it rapidly get overwhelming. So many to choose from! Between Belgian waffles, and classic waffles, with extracts and herbs, and vegan options (note: no one in our household is vegan), I quickly got dizzy with the myriad options out there. Too much, too soon (too furious?). Especially when all I wanted was a really simple but still tasty foundation to start the adventure. But after four hours of rabbit hole spelunking, E had a great suggestion: why not turn to the internet’s Authority on Food: Smitten Kitchen.
As longtime SK readers know, Smitten Kitchen likes waffles. Maybe not with the same level of obsessive dedication and commitment that I (plan to) bring to the topic, but nevertheless: waffles. And almost a decade ago she posted a recipe for essential raised waffles, which seemed on the surface to have all the criteria I was looking for in my inaugural waffles:
The recipe was straightforward (no golden heritage grains originally harvested by virginal farmhands from fields nestled in hidden mountain valleys). It seemed to be relatively quick (give or take the overnight “pause” in the recipe – more on that in a moment!), and so simple that even a newbie like me could make it. So yes, within five minutes of review (after four hours of Google diving) I had the recipe for my inaugural waffles.
A Bit of History, My First Adventure, and Some Decisions
So credit where credit is due, this recipe is obviously NOT my own. While I learned about it from Smitten Kitchen’s post, this recipe did not – in fact – begin there. As her post makes clear, this recipe actually seems to date back to 1896 and the Boston Cooking School Cookbook by Fannie Merritt Farmer and has seen a ton of food writing attention in the century-and-change since. SK herself adapted it (in language only) from Marion Cunningham’s Breakfast Book, and now I’m adapting it (also in language only) from SK’s adaption – (music cue for the cycle of life starts here). With a pedigree like that, how could my first experiment go wrong?
Well, for starters, I didn’t have all the ingredients. Which is…kind of sad, when you consider that all the recipe calls for is milk, active dry yeast, water, butter, table salt, eggs, a tiny bit of granulated sugar, a tiny bit of baking soda, and some flour. But yes, dear reader, I was short of some ingredients. In particular, I didn’t have enough milk nor the active dry yeast. And thus began my first adventure: the grocery store! (okay, I admit, I’m boring)
Decision #1: How Active Do I Want My Yeast?
I won’t bore you with the chore of getting milk. But the chore of getting active dry yeast? That was actually the first truly difficult decision I had to make. Because did you know that there are different kinds of yeast? You probably did, because you are wiser and more experienced than I am. But I didn’t. Smitten Kitchen’s recipe clearly calls for a single packet of active dry yeast…but my grocery store only carries packets of instant fast rising yeast. Which – with a bit of judicious Googling – turns out is not the same thing at all. Oh, I can hear you say this already: Instant Fast Rising yeast and Active Dry Yeast are interchangeable. And while that’s true, it turns out only in some most applications.
But I’m a scaredy-cat (more on that theme in a moment), and after digging through the grocery shelves in a mounting panic, I managed to find a jar of the stuff. And thankfully, because she is wise, Smitten Kitchen included an actual quantity measurement (1/4 ounce, 7 grams or 2 1/4 teaspoons) besides the default “one packet” guidance. So crisis averted!
Having acquired my yeast, I headed home to prepare my waffle batter.
Decision #2: Should I Risk Poisoning My Family with My Inaugural Waffles?
But here’s the thing. The recipe calls for making the batter – using milk and yeast – and setting it out overnight. That’s right: milk and activated yeast, sitting on a countertop. Overnight. For maybe some nine to twelve hours. Well, I’m an adventurous sort at heart. But I’ve got a pregnant wife, and if I’m going to be Waffle Dad I figure starting my adventures by giving my pregnant wife food poisoning would be bad form. So reader, I’ll admit: I chickened out.
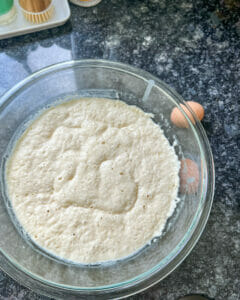 I prepped the batter, mixing the relevant ingredients as the recipe calls for. I was meticulous. I was precise. I used like nine bowls where probably only two would have been necessary (I blame both inexperience and the fact that I like bowls). I measured the water and milk temperature to a precise 107 degrees Farenheit using a candy thermometer. Mixed it all together, and covered it as instructed. And while I did leave it sitting out on the counter for maybe 30 or so minutes, I pretty quickly put it into the fridge overnight.
The next morning (if you consider 5am morning – I think the jury is still out), having been woken up by our daughter using her ribs like a jungle gym, E pulled the still-covered batter out of the fridge and let it sit on the counter until I woke up.
The Waffling: Frowny Faces, More Decisions, and Tragedy!
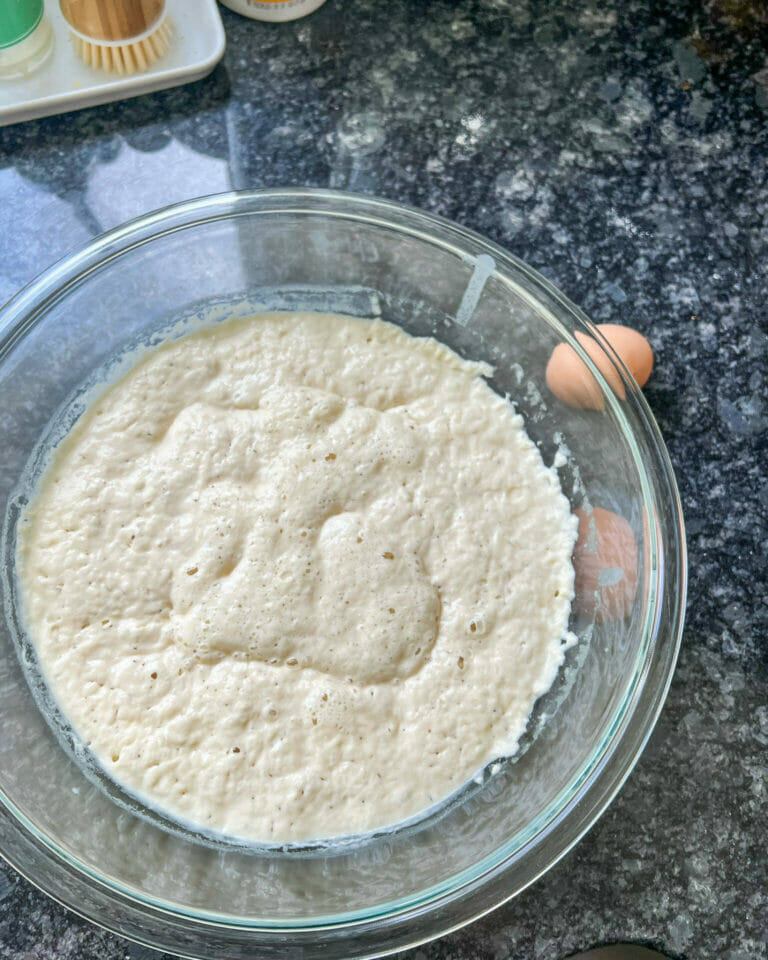
 So having hauled my lazy butt out of bed, it was time to actually waffle! Do the waffles? Make the waffles? Language is hard. The batter had risen quite nicely, and now it needed eggs and baking soda. When combined, they made a funny frowny face that you can see in the picture. At least I thought it looked like a frowny face. Don’t judge.
And then into the waffle maker the batter went! I had enough cooking spray for the first two batches, but clearly I should have planned better because for the third batch I needed to brush Hercule with some oil (and yes…that could go so many inappropriate places but I’ll just leave that there – this is a family friendly food blog after all!).
Batch #1: Classic / FIVE...kind of
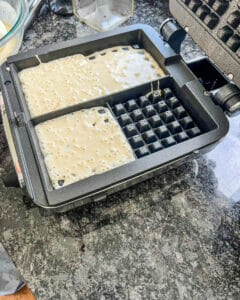 My (and Hercule’s) first batch was set to the Classic setting, and I set the brownness-level to FIVE. We figured we’d adjust from there, once we saw how they came out. And everything was going so well, I thought I’d switch to Advanced Mode and warm up the maple syrup in the microwave. Good idea, right?
WRONG.
The microwave started up, and while my waffles were grilling suddenly the entire kitchen powered down like a robot hit by an EMP. Turns out, Hercule is so strong that if both he and the microwave are running at the same time, one of our breakers trips!
So down I ran to flip the breaker back on…but meanwhile the batter is just sitting in Hercule kind of cooking? Maybe? Sort of? Ultimately, with the power restored I waited on the maple syrup and instead let Hercule run through half of the pre-heating cycle again (figuring that would get the waffles cooked fully).
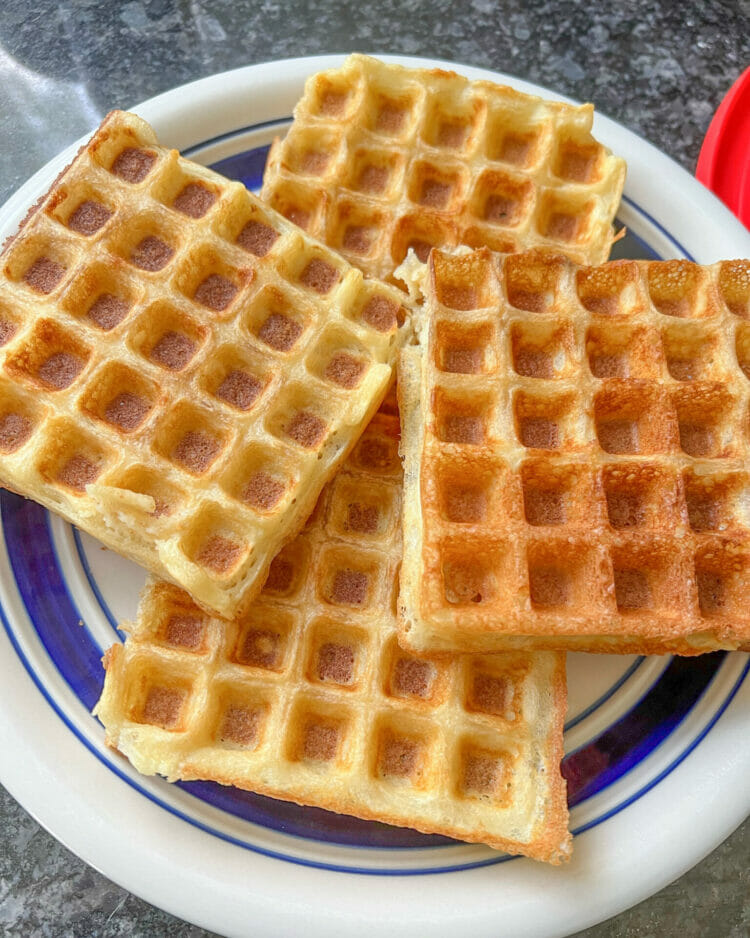
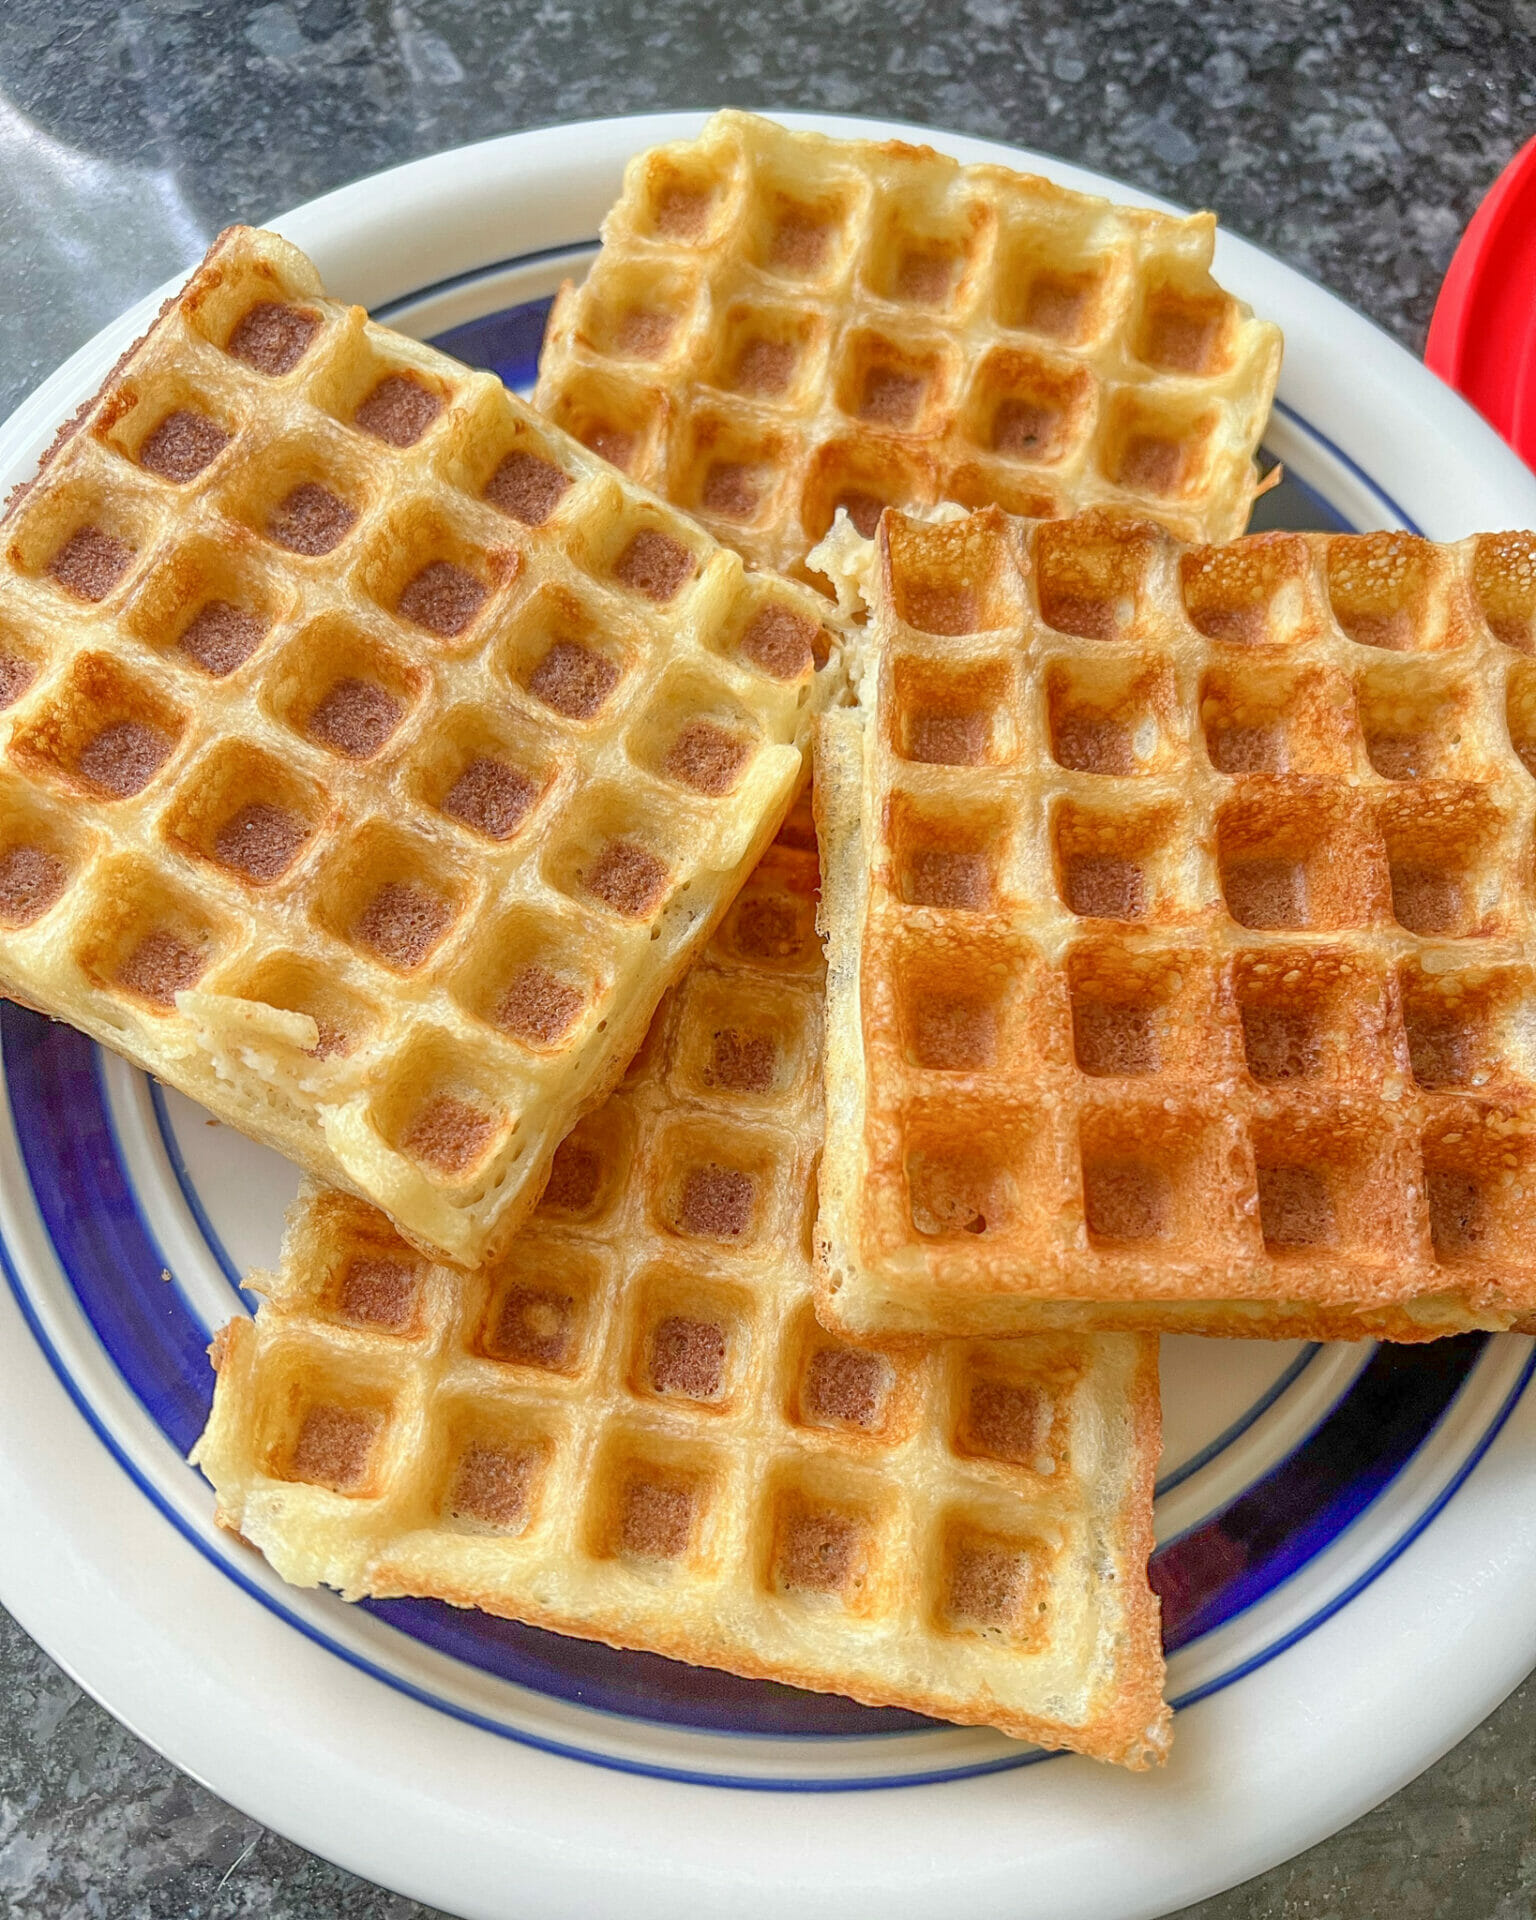
Despite the (mis)adventure, this batch turned out okay. However, I do not recommend my odd methods here because the results may not be reliably repeatable.
Batch #2: Classic / FOUR...but mixed oils
So on the second batch of four, I specifically did NOT run the microwave. But I did run out of cooking spray on this one, so I had to coat much of Hercule with vegetable oil by hand.
This batch turned out pretty good. E preferred them to the first batch, but I found them to be a bit tasteless when tried without maple syrup.
Batch #3: Belgian / FIVE...vegetable oil only
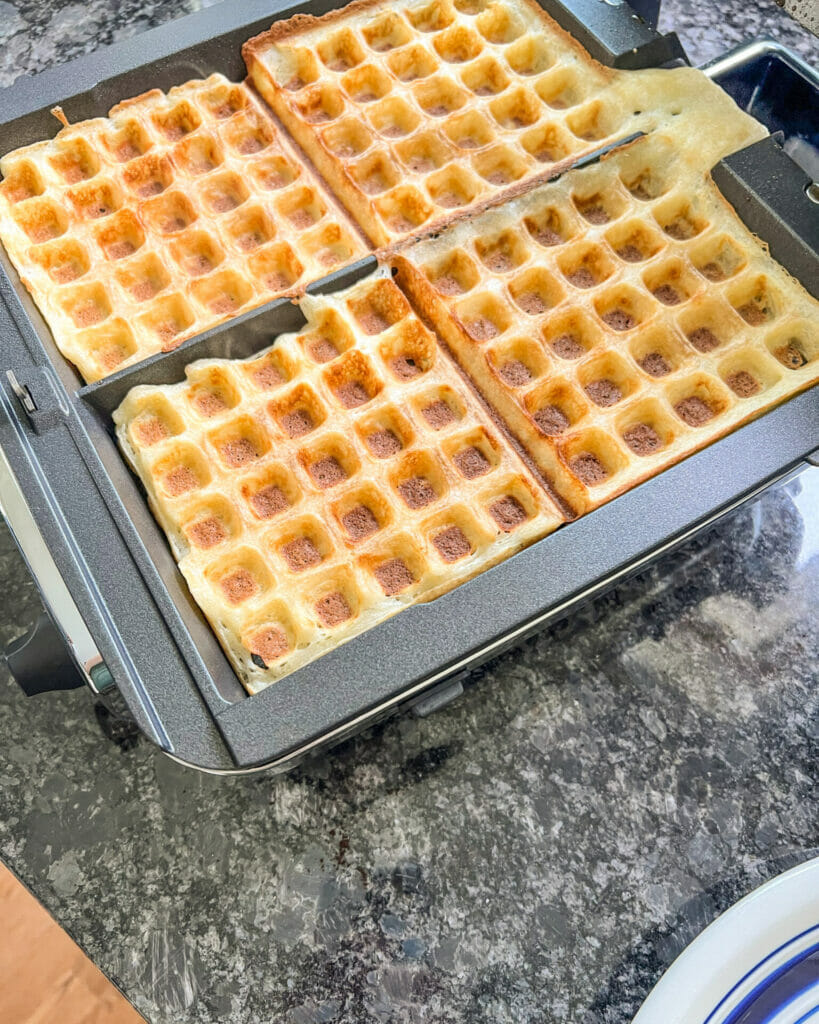 Our third and final batch was set to the Belgian setting, and the brown-ness level set to five. This time, we did not mix any oils: just used vegetable oil because it was all we had left.
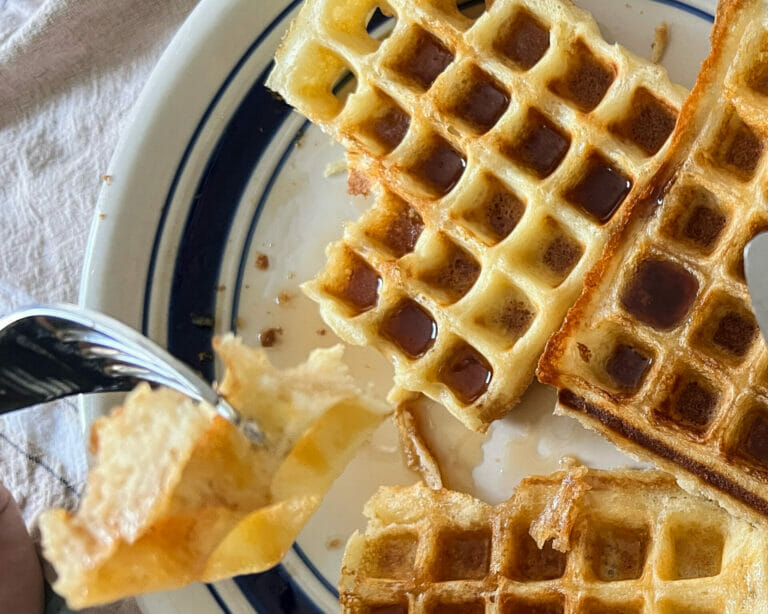
I really liked these – they came out a bit more done than the others (not surprising) and I thought that they had the perfect balance of exterior crispiness but interior fluffiness that the best waffles get. A successful experiment, after much (mis)adventure!
And thus, dear reader, my journey as Waffle Dad has begun…
Recipe Card
4
servings18
minutes15
minutes3
wafflesAdapted (in language only) from Smitten Kitchen's Essential Raised Waffles, which in turn was adapted from Marion Cunningham, who also adapted it from Fannie Merritt Farmer.
This recipe prepares an absolutely delightful set of waffles, with a lovely crispness to the exterior with a fluffy, soft, delicate interior. The waffles are sweet without being cloying - despite the use of almost no sugar to speak of.
Keep the screen of your device on
Ingredients
1/2 cup Water (warmed to 105 - 110 degrees F)
2 1/4 tsp Active Dry Yeast
2 cups Milk (warmed to 105 - 110 degrees F)
1 stick Unsalted Butter (melted and cooled to luke warm)
1 tsp Table Salt
1 tsp Granulated Sugar
2 cups All-Purpose Flour
2 eggs Large
1/4 tsp Baking Soda
Cooking Spray / Oil / Melted Butter for the Iron
Directions
- Make sure you have all the ingredients (learn from my mistakes, dear reader).
- Pour the water into a large bowl and warm to 105 - 110 degrees Farenheit. Two words of caution: First, because we're dealing with yeast here, I'd recommend being precise about temperature. Second, you'll want a large bowl because the batter will rise a lot. I misjudged and had to switch to a larger bowl.
- Add yeast to the water, let it foam a bit, whisk it up a little and let it sit for 15 minutes.
- Stir in milk, melted butter, sugar, salt, and flour. Whisk to get rid of any lumps.
- Cover the bowl. And let it sit overnight. Note that I let it sit in the refrigerator, though that might just be my paranoia. The result looked like this the next morning:
- In the morning, whisk in eggs and baking soda until the batter is smooth.
- Heat up the waffle iron and coat it with cooking spray / oil / butter. Add the batter once heated.
- Cook until done, then add syrup or other toppings and enjoy!
Equipment
 Hercule, the All-Clad Belgian Waffle Maker
Notes
- Adapted (in language only) from Smitten Kitchen, who in turn adapted it from Marion Cunningham, who adapted it from Fannie Merritt Farmer.
Did you make this recipe?
Tag @TheWaffleDad on Instagram and hashtag it #WaffleDadExperiments
Like this recipe?
Follow us @WaffleDad on Pinterest

