After trying the overnight waffle recipe until I got it right, I wanted to switch it up for my next batch. This time, I decided to try my hand at a classic: the Buttermilk Waffle. I did a bit of googling to find a good recipe, and found one that seemed promising over at the Brown Eyed Baker. Definitely check her site out, as there are tons of great recipes to be found there – like her crispy and fluffy buttermilk waffles, which did not disappoint!
The Real Decision
I’ve always found buttermilk waffles to be a basic classic waffle which benefits from some great toppings.
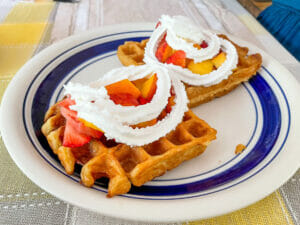 A good buttermilk waffle should be crispy on the outside, fluffy on the inside, and it should have its own flavor that complements whatever gets put on top. To be clear, it shouldn’t need much in the way of topping – some maple syrup, some whipped cream, some fruit – any of that or any combination of that should go well with a good buttermilk waffle.
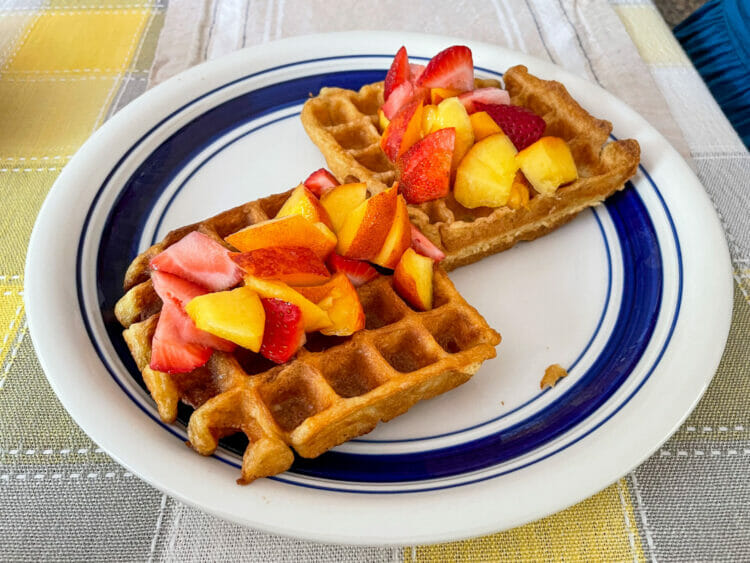
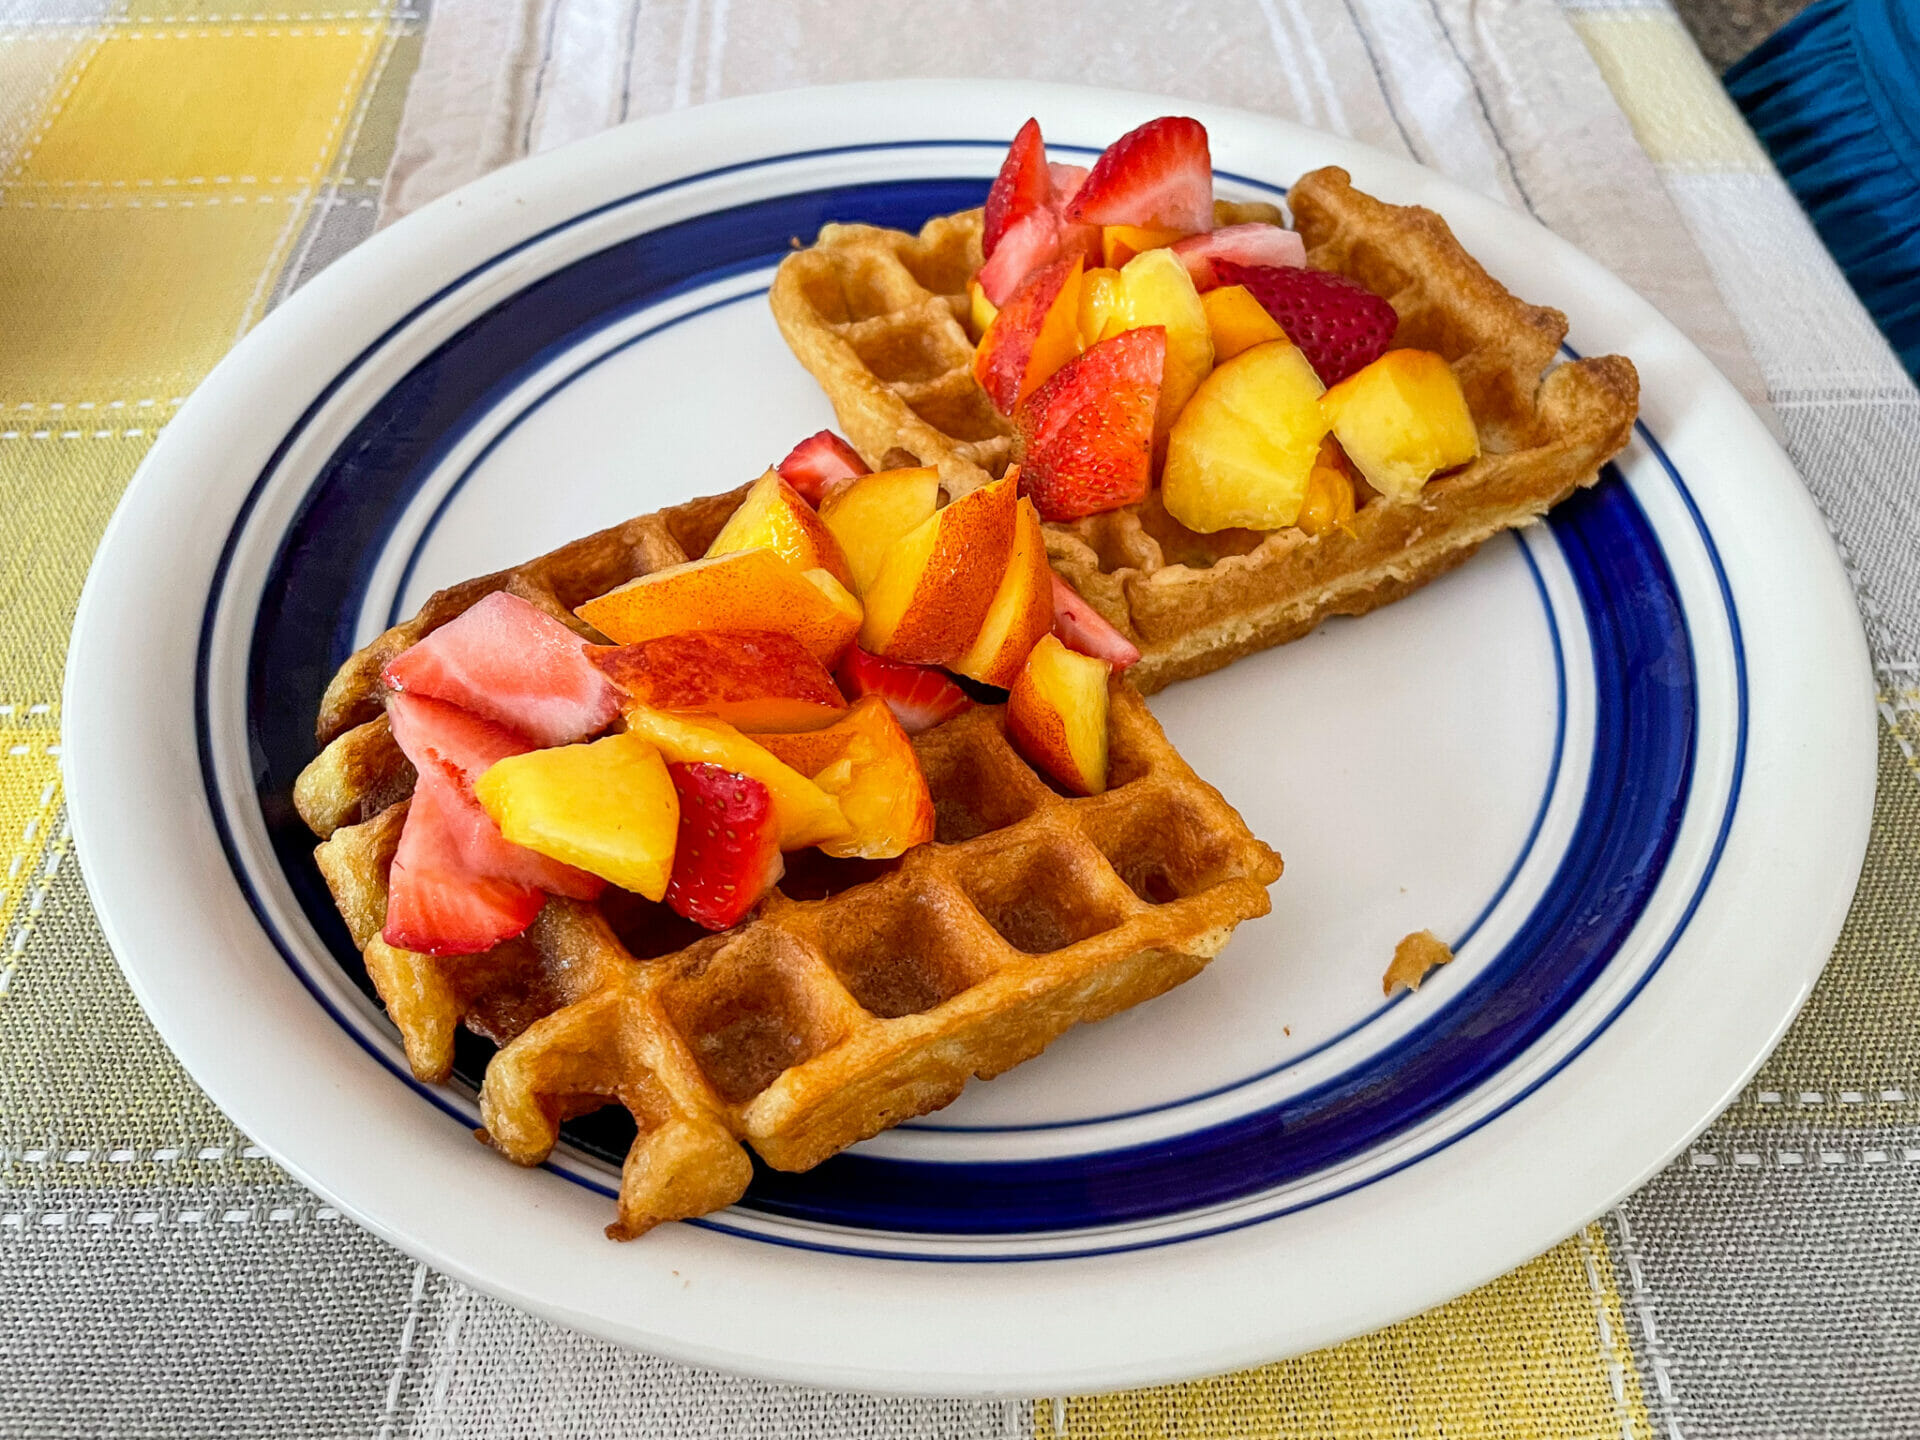
Since it’s early summer, we had a bunch of perfect nectarines and lovely strawberries, which we decided would go great as a topping. And we were right! They added just enough sweet delicate flavor to balance the vanilla in the waffle batter, and they really went great together. For a little added flair, we added some whipped cream on top for a delightful result.
Classic Buttermilk Waffles
4
servings20
minutes10
minutesAdapted (in language only) from Brown Eyed Baker's Fluffy and Crisp Buttermilk Waffles.
This recipe is super simple and yields some great buttermilk waffles. The waffles are crispy on the outside, fluffy on the inside, and with a perfect level of sweetness and delicate vanilla flavoring. This might become my go-to for classic buttermilk waffles.
Keep the screen of your device on
Ingredients
- Dry Ingredients
1 3/4 cups all-purpose flour
2 tsps baking powder
2 tbsps granulated sugar
1 tsp baking soda
1 tsp salt
- Wet Ingredients
1 3/4 cups buttermilk
1/2 cup unsalted butter
2 large eggs
2 tsps vanilla extract
- Toppings
3 - 4 nectarines
1 handfull strawberries
whipped cream to taste
Directions
- Melt the butter. In my microwave, this takes about 30 - 40 seconds for a single stick. Once melted, put it in the fridge for 10 minutes to cool it back to room temperature.
- In a large bowl, whisk all the dry ingredients together (flour, sugar, baking soda, baking powder, salt).
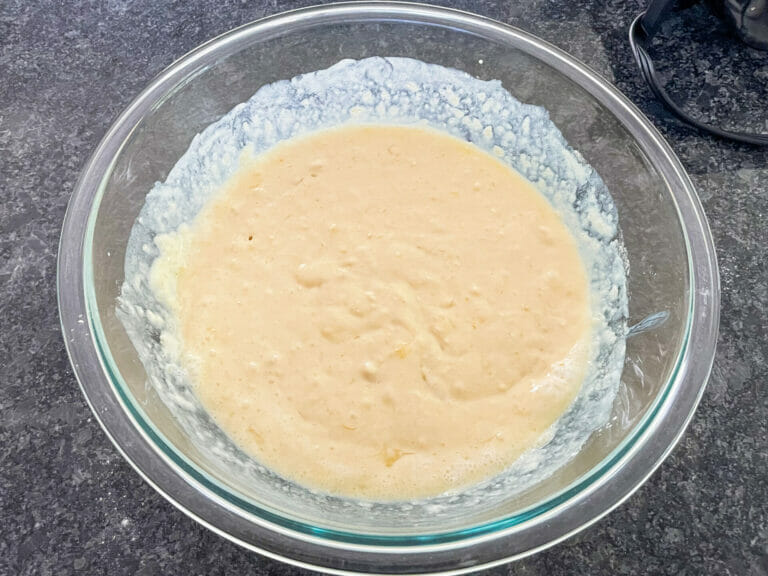
- In a medium bowl, mix the wet ingredients (buttermilk, butter, eggs, vanilla extract). The buttermilk, butter, and eggs will clump a bit - keep whisking gently until the clumps are broken up and somewhat small'ish.
- Pour the wet ingredients into the large bowl with the dry ingredients. Gently whisk to combine until the batter is reasonably smooth. It will likely still have some gently sloping lumps and that's okay.
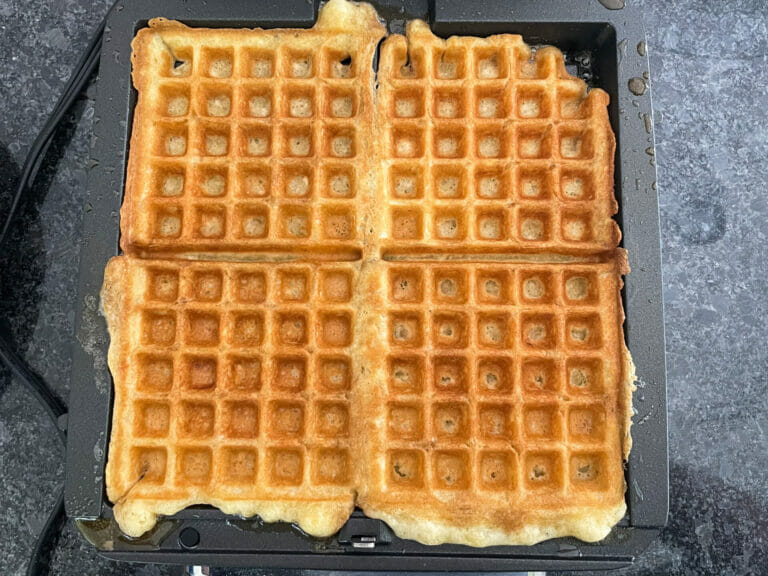
- Preheat the waffle iron. These waffles work great fairly well-crisped, so I typically set my waffle iron to 6 or 7 (I've made these on the Belgian and Buttermilk settings - both work).
- If you're doing a topping, slice up your topping ingredients and put them aside.
- Add the batter to the waffle iron and let the iron do its thing.
- When the waffle iron is done, cover with topping and enjoy! Note that you can set aside and keep warm in a 200-degree oven if needed while additional batches cook in the iron.
Equipment
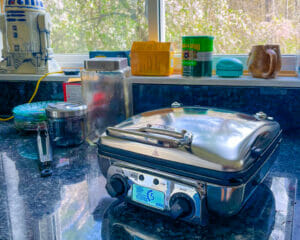
 Hercule (All-Clad Belgian Waffle Maker)
Notes
- Adapted (in language only) from Brown Eyed Baker's Fluffy and Crisp Buttermilk Waffles.
Did you make this recipe?
Tag @TheWaffleDad on Instagram and hashtag it #WaffleDadExperiments
Like this recipe?
Follow us @WaffleDad on Pinterest

